September 24, 2026
Smart Home Organization Tools for Every Room
Updated on: 2026-09-24
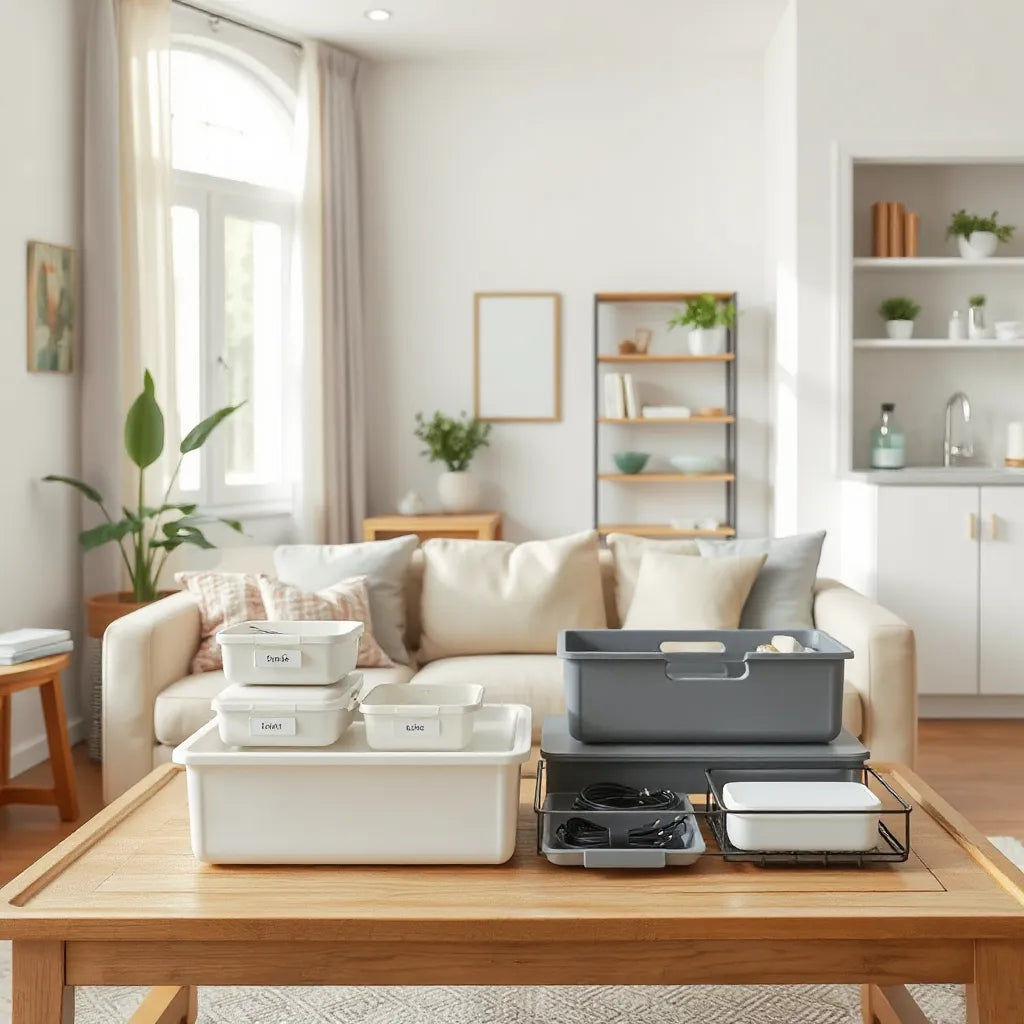
Home organization tools help you reduce visual clutter, locate items faster, and maintain routines that last. The most effective systems combine containment, clear labeling, and smart placement based on how you actually use your space. By matching tool types to specific zones such as kitchens, entryways, and workstations, you can prevent recurring mess. This guide explains a practical setup method, shares a personal organizing lesson, and offers evidence-based recommendations to improve daily order.
Purpose | Product Spotlight | Step-by-Step How-To | Personal Experience | Summary & Recommendations | Q&A Section | About the Author
Why Home Organization Tools Matter for Everyday Life
Home organization tools are more than accessories. They are practical infrastructure for your routines. When you can see what you need, store it consistently, and maintain a predictable flow, stress decreases and productivity rises. Clutter often occurs when storage does not match use patterns. For example, items placed “somewhere” still require time and attention later. Well-designed organization tools remove that friction.
A reliable system also supports decision-making. Instead of repeatedly asking where something should go, you assign destinations once and then keep them. This approach is particularly useful in high-traffic areas such as entryways, kitchens, and laundry zones. Over time, your home becomes easier to navigate because each category has a home, and each home has a method.
To choose the right tools, focus on three outcomes: containment, accessibility, and consistency. Containment reduces spread. Accessibility ensures you can retrieve and return items without effort. Consistency prevents the “temporary pile” effect that slowly becomes permanent.
Product Spotlight: Screen Care and Daily Reset
Many organizing plans fail because they ignore small maintenance tasks that create recurring disorder. A simple example is keeping frequently used screens clean and protected so that dust, smudges, and ad hoc cloth searching do not turn into a daily mess. A dependable option is the screen cleaning kit from HyperGear. While it is not a storage organizer by shape, it functions as a “micro-system” that improves how your space behaves day to day.
When you store the kit in a dedicated, labeled location, you eliminate the cycle of mismatched cloths and improvised sprays. The kit becomes part of a workflow: clean, put away, repeat. That workflow is exactly what effective home organization tools aim to support. The benefit is not only cleanliness; it is also reduced visual clutter and fewer interruptions while you search for supplies.

Open drawer with labeled zones and reset routine
Step-by-Step How-To to Build a Durable Organization System
Use this method to set up a system that survives real life. It is designed for bedrooms, kitchens, garages, and home offices. You do not need a large renovation. You need clear decisions and the right tool categories.
1) Map your zones by behavior, not by room names
Start by identifying where tasks happen. Typical zones include the entry landing, mail and document area, kitchen prep zone, and desk work surface. Then note how items move. If you bring home packages, set down keys, and store bags near the door, your entry zone needs containment and quick-return storage.
2) Perform a short category audit and remove duplicates
Choose one zone for the first pass. Gather items from that zone and group them into categories: frequently used, occasional use, and rarely used. Remove duplicates and items that no longer serve a purpose. This step reduces storage pressure, which makes the next steps more effective.
3) Select home organization tools by function
Different tools address different problems. Use this functional approach:
- Containment tools such as bins, drawers, and dividers reduce scatter.
- Accessibility tools such as pull-out organizers, shelf inserts, and trays reduce search time.
- Visual systems such as labels, color coding, and consistent placement make returns effortless.
- Maintenance tools such as cloth kits and small checklists prevent “mess resurgence.”
4) Create a “return path” for every category
For each category, define where it goes immediately after use. A return path must be obvious without effort. If you place items in a hard-to-reach location, you will eventually revert to the temporary pile. Prioritize surface-level storage for daily items and higher shelves for infrequent items.
5) Use labels that answer one question
Labels should clarify what belongs in the space, not display artwork or motivational phrases. Use simple category names, such as “Batteries,” “Charging,” or “Cookbooks.” If you use labels, keep typography consistent. Consistency helps all household members participate without confusion.
6) Match capacity to reality to avoid overfilling
Overfilled storage creates compression and makes retrieval difficult. When items must be forced back, people often abandon the system. Choose container sizes that allow items to sit without squeezing. If you frequently need to remove many items at once, consider smaller containers for subcategories.
7) Add a maintenance routine with a clear trigger
Order improves when maintenance is scheduled around triggers. Examples include “after grocery delivery,” “after mail sorting,” or “at the end of each work session.” The goal is to restore order while momentum is already present.
8) Track progress with one weekly check
Once per week, inspect one zone for overflow. If you find recurring piles, refine storage locations or adjust capacity. This is where most organization improvements happen. Your first setup is rarely perfect; iterative refinement is the key to sustainability.

Checklist on clipboard with three storage labels and tick marks
Common Mistakes When Choosing Home Organization Tools
Even high-quality tools can fail when the plan is misaligned with daily patterns. Avoid these frequent errors.
Placing organizers where sorting is difficult
If the space requires bending, climbing, or extra steps, users often postpone returns. Accessibility should guide placement.
Using too many categories too early
Granularity can be useful, but only after the basics work. Start with broader groups, then subdivide based on repeat needs.
Ignoring paper and small-item clutter
Small items create disproportionate visual noise. Use shallow trays or dedicated compartments for tiny accessories and documents. The objective is to create a predictable “landing” area.
Buying storage without measuring your space
Storage tools must fit. Measure shelves, drawer depths, and door clearance. Tools that do not fit are not merely inconvenient; they quickly become unused.
Where to Start: High-Impact Zones
If you want fast wins, begin with areas that generate clutter daily. These zones also teach you how to design return paths.
Entryways and drop zones
Use home organization tools to manage keys, mail, bags, and small accessories. A simple landing tray or a labeled set of compartments can stop items from spreading across surfaces.
Kitchens and cooking areas
Focus on what you handle during meal preparation: spices, cooking tools, and frequently used utensils. Dividers and trays reduce the effort of returning items. When storage aligns with your workflow, the kitchen stays orderly even during busy weeks.
Home offices and workstations
Workspaces benefit from visible organization. A tray for “to file,” a container for charging items, and labeled zones for stationery prevent desk buildup. When you reduce search time, you also reduce the temptation to work on a surface that later becomes cluttered.
Bathrooms and laundry areas
Moisture and frequent use demand stable organization. Choose containers that are easy to wipe and that keep similar items together. Labeling improves consistency, especially for shared households.
Personal Experience: How a Small Setup Changed My Routine
In my own organizing attempts, I repeatedly focused on storage size instead of storage behavior. I once added containers to a desk drawer and assumed the mess would disappear. The drawer became fuller, and the items eventually reverted to a surface pile because the return path was not obvious.
The turning point was simpler than I expected. I created a clear workflow: one tray for daily essentials, one label for each category, and a dedicated spot for a frequently used maintenance item. That maintenance item did not just keep tools tidy. It also reinforced a habit: clean up immediately after use. Within a few weeks, the desk became easier to reset, and clutter stayed contained.
This is the practical advantage of home organization tools when they support routines. Storage is only effective when it matches the way people actually move through a space.
Summary & Recommendations
Home organization tools deliver meaningful value when they enable predictable routines. Containment reduces scatter, accessibility cuts search time, and labels help everyone return items without confusion. Use a zone-based approach, start with the highest-impact areas, and refine capacity after a weekly check.
For a stronger start, invest in a system that supports small daily maintenance tasks, not only visual storage. A simple micro-system can prevent clutter from restarting every day. If you want to build your plan around real workflow, consider pairing storage upgrades with a reliable maintenance kit from brands that focus on usability.
If you are assembling a broader home refresh, you may also find complementary items for household organization and support at Snagva.
Q&A Section
How many home organization tools do I need to start?
You do not need many tools at first. Begin with a few categories that solve immediate problems in one zone: a containment option, a clear return location, and a labeling method. After your first weekly check, add tools only where overflow or confusion persists.
What is the fastest way to reduce clutter in shared spaces?
Standardize destinations for the categories everyone uses. Focus on common items such as mail, charging accessories, and daily small-use supplies. Use labels with simple category names and ensure the return path is equally accessible to all users.
Should I use color coding or written labels?
Either method can work, but written labels are more universally clear. Color coding can be helpful when it is consistent and not overly complex. If household members have different preferences or reading comfort levels, start with labels and add color only for high-frequency categories.
How do I prevent organizers from becoming another source of clutter?
Preventive steps include measuring capacity, avoiding overfilling, and using containers with a clear purpose. Also schedule a small maintenance trigger, such as a weekly reset. When an organizer cannot contain future growth, adjust the system rather than forcing items into it.
About the Author
Snagva
Snagva provides guidance on practical home organization systems and everyday workflow design. The expertise focuses on turning clutter into a repeatable process through smart storage choices and maintenance routines. The approach is practical, objective, and tailored to real household behavior. Thank you for reading, and may your next reset feel simpler than the last.
Disclaimer: This article provides general educational information about home organization strategies. Results depend on your space, item mix, and household routines. Always evaluate safety and suitability for your environment before implementation.
The content in this blog post is intended for general information purposes only. It should not be considered as professional, medical, or legal advice. For specific guidance related to your situation, please consult a qualified professional. The store does not assume responsibility for any decisions made based on this information.